Building Assets
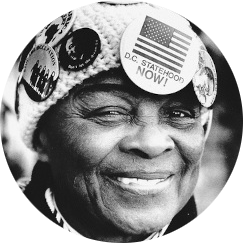
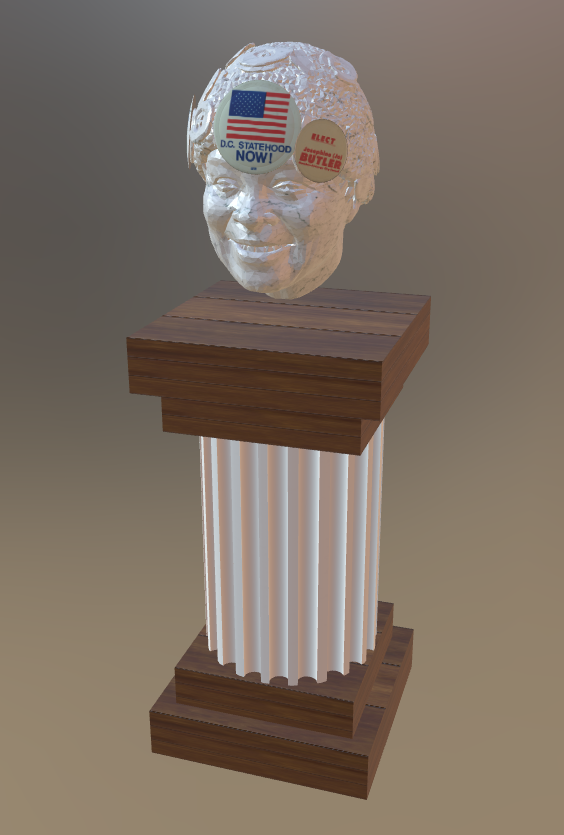
In the time since the last blog post, I have made new assets for our project. I was tinkering with the meshy files involving the bust on a podium and the Statue of Butler on the stairs.
When we were first using Meshy, it was pretty surprising how detailed it created 3D assets from 2D images. I think the only issue that I was majorly facing was the data size of each asset. There's a limit that helps us take into account the number of objects, the size of objects, and the level of detail an object has.
So for the bust and podium. I first edited where the buttons needed to go and the textures for each part. It wasn't until we started placing it in Hoverlay that we saw that the size was the issue. So the newest obstacle was to change the size. So I looked at the faces of the bust, using a combination of Maya and Blender, and I started to reduce the number of faces. Which took some tinkering, Maya would analyse the object and would reduce it based on the percentage. From here, it was trial and error. I would do 3 different reductions from the original, having them be in 25% increments. I ended up using a combination of reduction at 50% and then 25%. This gave us a more reduced model without sacrificing too much detail.
I noticed that the materials, like the textures, were having some trouble exporting from Maya. So I started to retexture the different maps in Blender, which wasn't difficult. I just had to understand how the setups were and understand where the similarities are.
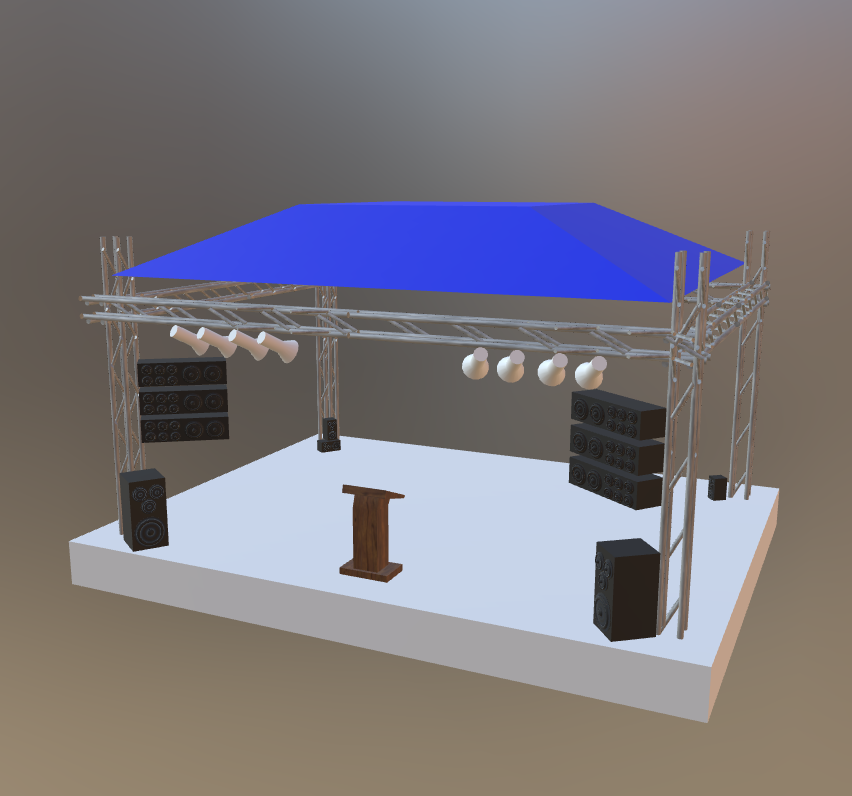
I realized after the second version that we were just on the edge of the models being too big, and since most of the assets I had built for other classes used texture maps that were 4k quality, I had learned that it could be one of the last tricks to try to reduce the models. Using a lower quality texture of 1K or lower would be enough. I am working on how to reduce the statue, creating a new table with brochure assets, and adding some new textures to the stage model.